Hey everyone, how are you doing?
Continuing our Drawing Styles article, today we’re going to talk about realistic drawing.
Have you recently discovered realism, or do you want to learn more about this drawing style?
Without a guide, it’s easy to feel lost when you’re starting something new—but that’s exactly why we’re here!
Now let’s get started! In this post, you’ll learn everything about realistic drawing:
What Is Realistic Drawing?
Realistic drawing is an art style that aims to create drawings that look as close to real life as possible. It can be done on paper, canvas, digitally, and more.
It’s a highly respected style because it takes a lot of practice to master.
To create realistic drawings, you need to pay close attention to details such as proportions, shading, textures, and lighting.
It’s also important to choose the right materials.
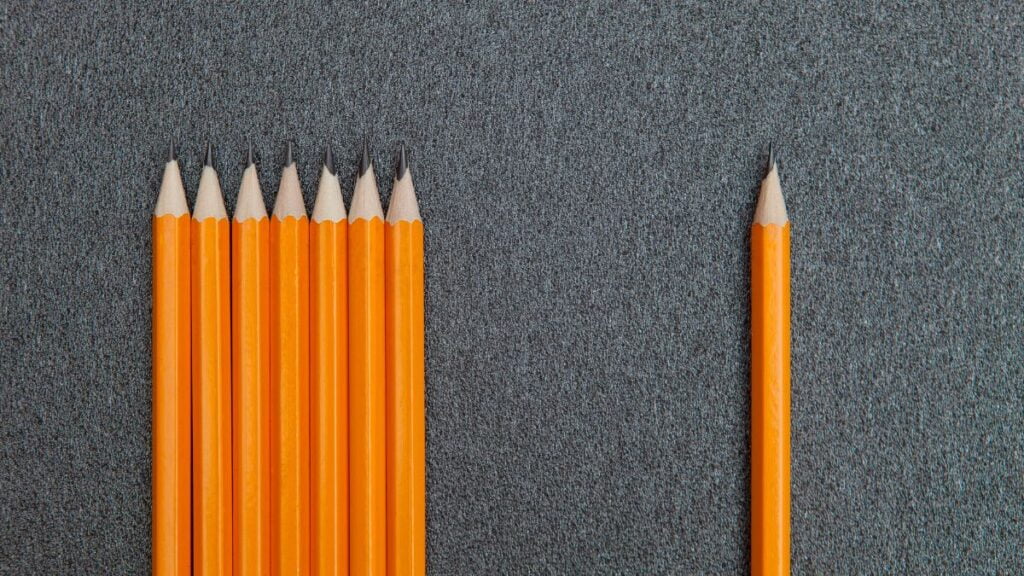
Drawing paper, pencils with different grades, brushes, eraser pens, and many other tools can all make a difference.
You can use this technique to draw many different subjects, such as portraits, landscapes, objects, and animals.
How to Get Started with Realistic Drawing?
If you’re just getting started with realistic drawing, the first step is to focus on simple things.
Many beginners jump straight into complex theory or highly detailed faces before learning the fundamentals.
At the beginning, try to focus on:
- Learning to control pencil pressure;
- Practicing simple shading;
- Starting with less complex drawings.
One of the best ways to improve in the beginning is to practice easy drawings every day, because realistic drawing develops much more through repetition and observation than by simply watching videos.
👉 Check out the full post about easy realistic drawings here!
How to Create a Realistic Drawing Step by Step
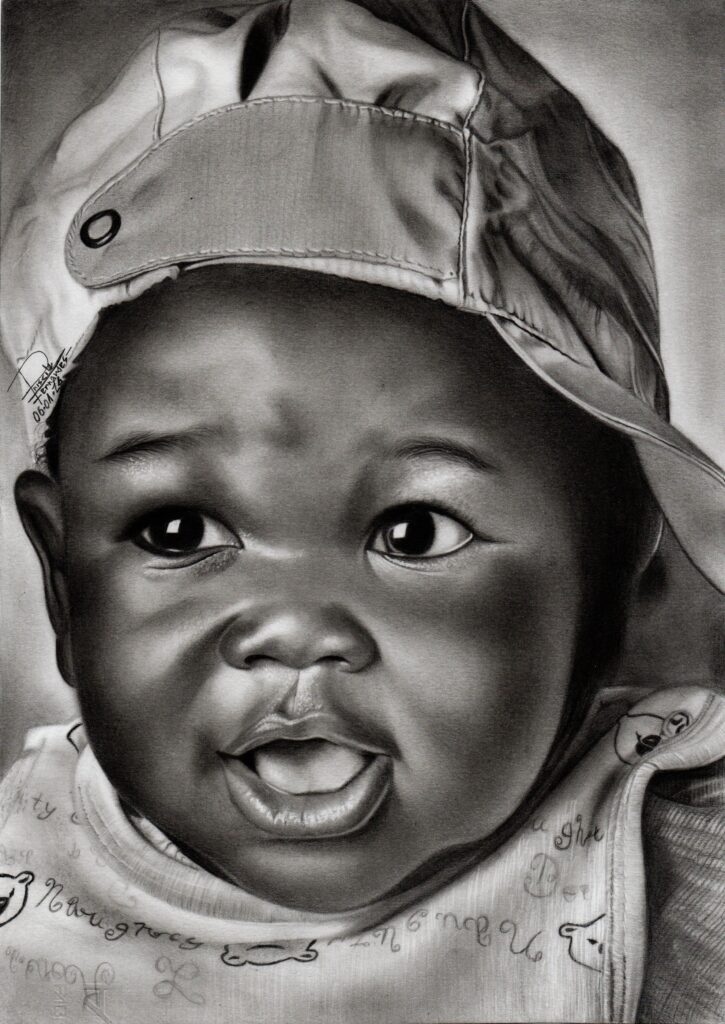
Follow @prifernandes_art_realista, a member of our group.
Creating realistic drawings may seem difficult at first, but there are steps that make the whole process much easier.
Below, you’ll learn about the main stages of the process and understand the role each one plays in the final result.
The goal is to help you understand how each step works so you can apply this knowledge to different drawings, not just a single reference.
With that said, let’s see how the process works in practice.
1- Choose a Good Reference

The first step is to choose a reference photo with good lighting and contrast.
Photos that are too dark or blurry make it much harder to see the details.
When you’re starting out, it’s best to choose photos with:
- Lighting coming from one side;
- Few elements;
- Good contrast between light and shadow.
This makes the shapes much easier to understand.
👉 Check out the full post about realistic drawing references here!
2- Gather Your Materials
To create a complete realistic drawing, you’ll need a few specific materials.
Although they may vary depending on your preferred drawing style, these are the most common ones:
- Heavyweight drawing paper (180 gsm or higher): To support realistic drawings;
- Embossing stylus: To create grooves in the paper that preserve white details;
- Graphite pencils (HB, 2B, 4B): To achieve different shades;
- White eraser: To erase cleanly without smudging;
- Toilet paper: For blending large areas;
- Cotton swab: For blending medium-sized areas;
- Blending stump: For blending very small areas;
- Makeup brush: For blending darker areas.
Don’t let the lack of any of these materials stop you from getting started. Use what you have or try improvising.
👉 Check out the full post about realistic drawing materials here!
3- Make the Sketch
Once you’ve chosen what you’re going to draw, it’s time to make the sketch.
No matter which sketching technique you choose, use your HB pencil and keep the lines light.
There are many ways to sketch. In the video below, Professor Carlos Santana shows how to create a sketch using the grid method:
It’s very important to get the proportions of the shapes and details right. Otherwise, the drawing will look different and may be difficult to recognize.
Take your time and make sure your sketch looks good before moving on to the next step. A solid sketch is essential.
👉 Check out the full post about realistic drawing sketches here!
4- Start with the Face
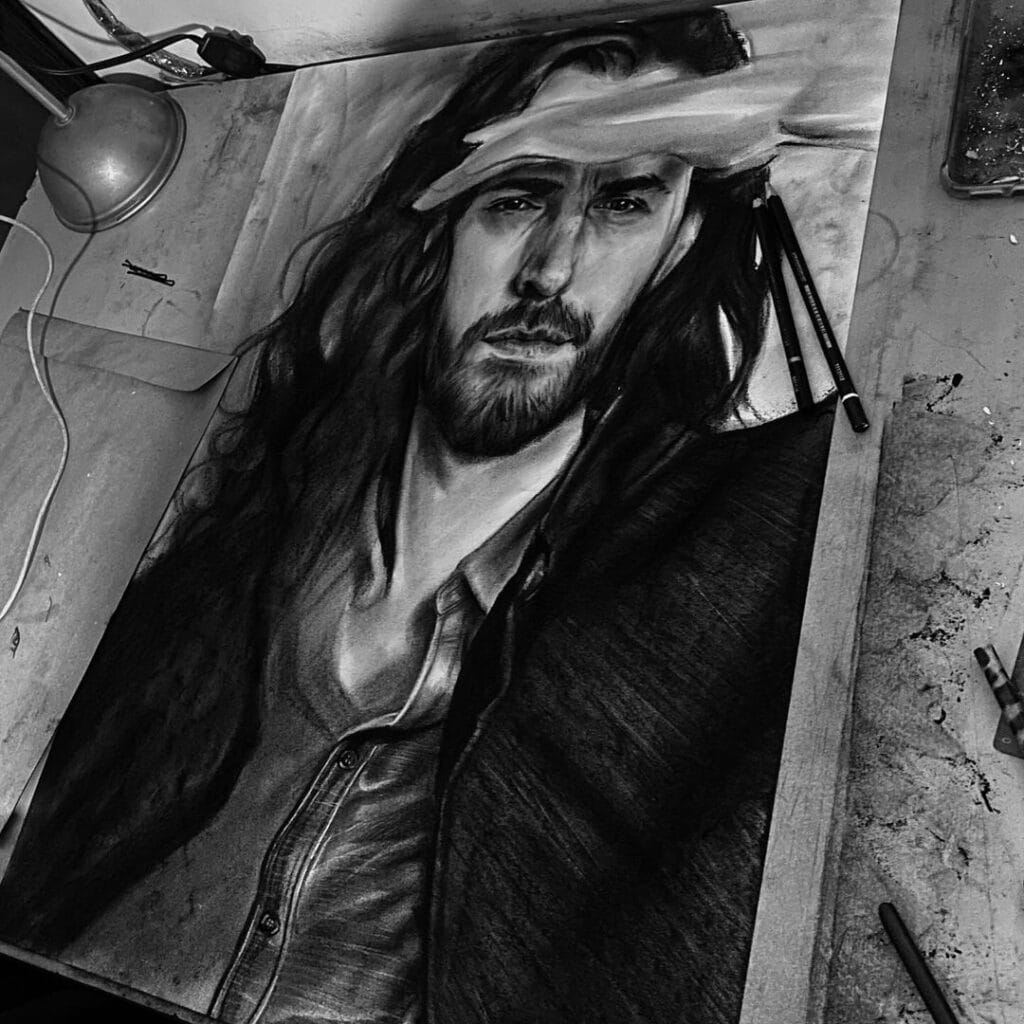
After finishing the sketch, many artists begin drawing people by working on the face first.
That’s because the face defines much of the expression, proportions, and identity of the drawing.
It also helps establish the level of realism that will be maintained throughout the rest of the artwork.
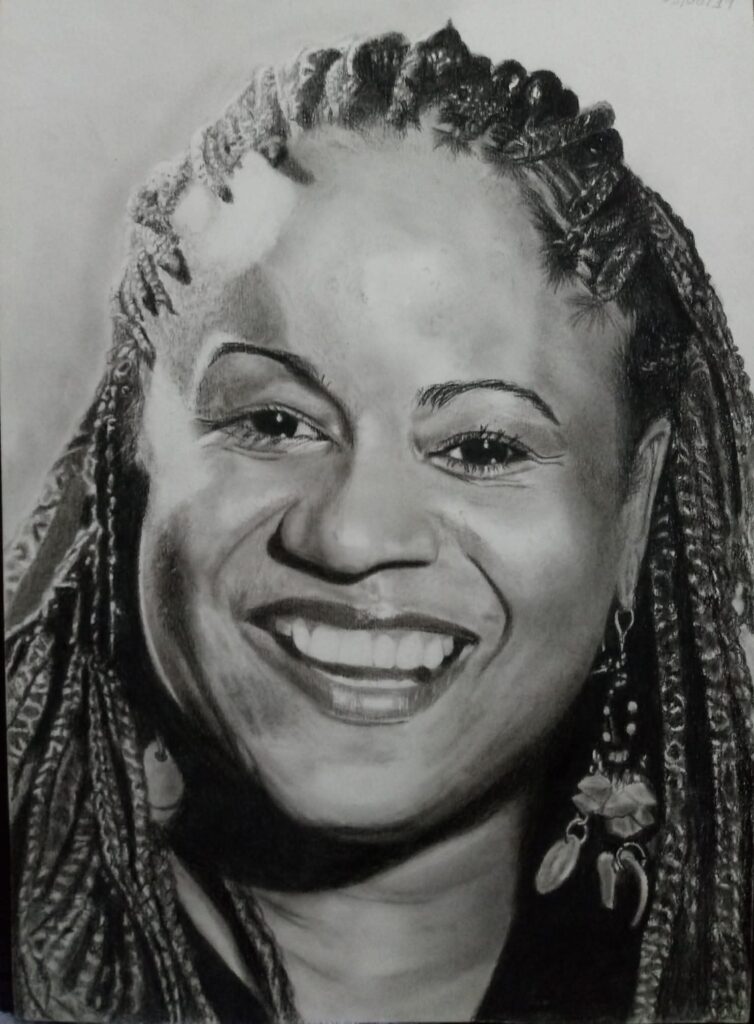
Follow @danielessmonhoz, a member of our group.
As the face develops, it becomes easier to keep the rest of the drawing balanced, including the hair, skin, and body structure.
That’s why, when drawing people, the face is usually one of the first areas artists render.
👉 Check out the full post about how to draw realistic people here!
5- Refine the Details
Once the main shadows are well established, you can start refining the details.
For example:
- When finishing a nose, refine the soft shadows along the sides;
- In the eyes, increase the contrast in the pupil and iris;
- On the skin, smooth out the transitions to avoid blotchy areas.
These small adjustments help give the drawing more depth and realism.
6- Draw the Hair Strands ✏️
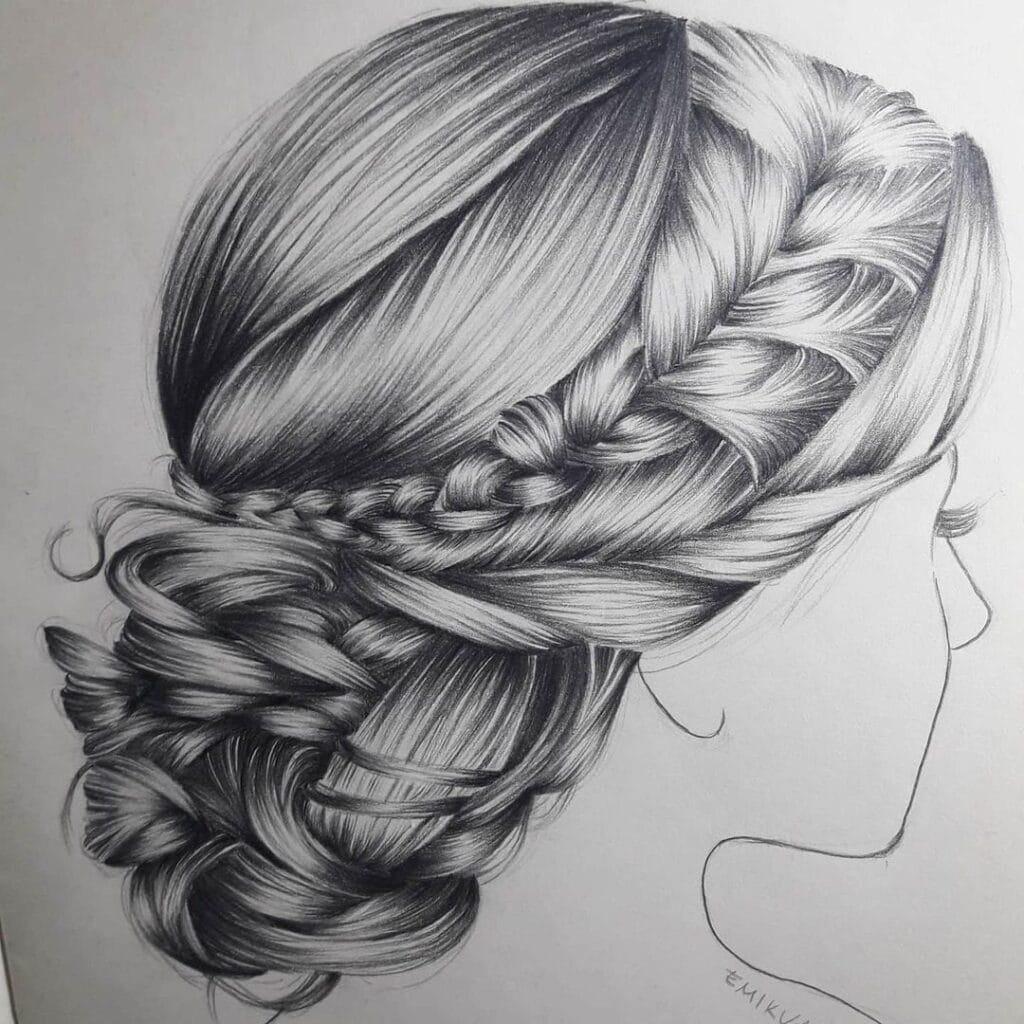
Follow @emikua
Now it’s time to work on the hair strands.
In realistic drawing, the secret isn’t drawing every single strand randomly, but observing the hair’s direction, volume, and shadows.
Most artists begin by blocking in the main sections of hair and only then add the finer strands to create a natural look.
It’s also important to follow the direction in which the hair grows, since that makes a big difference in achieving realism.
👉 Check out the full post about how to draw realistic hair here!
7- Draw the Clothing 👕
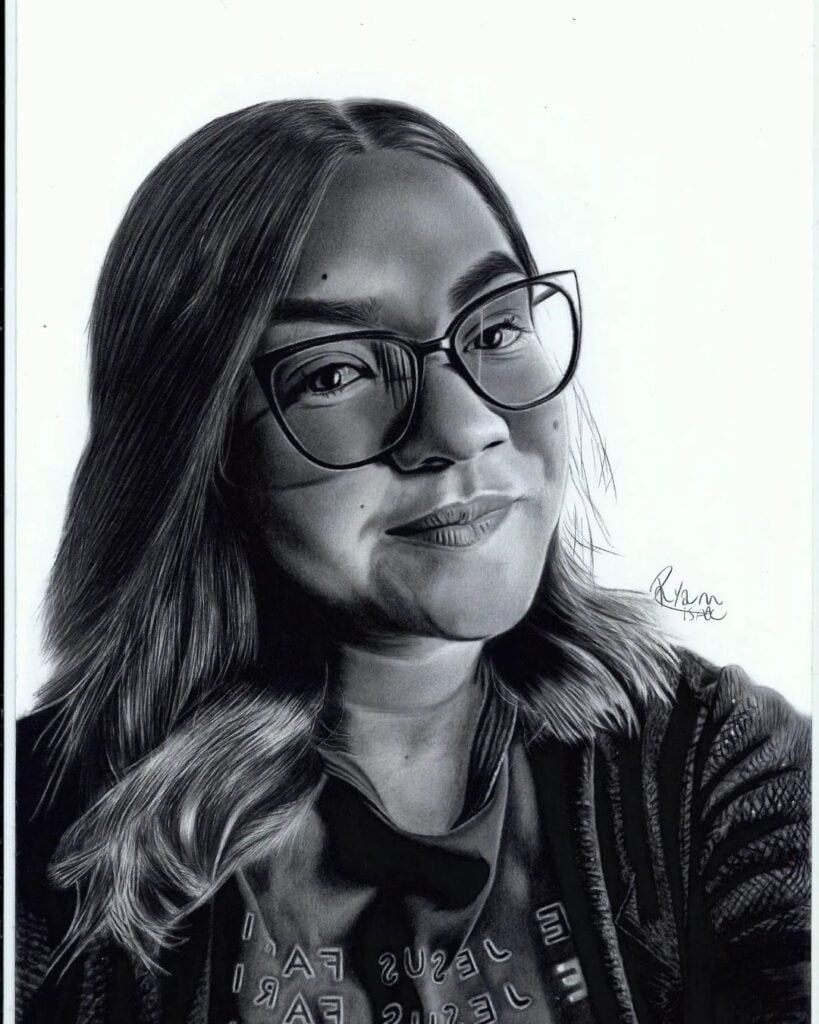
After finishing the hair, it’s time to draw the clothing.
Even though many people focus only on the face, the clothing is also an important part of a realistic drawing.
The most important things to pay attention to are the folds in the fabric, the shadows, and the material’s texture.
Clothing usually has many variations of light and shadow, so good shading makes a huge difference in making the drawing look more natural.
8- Finish with the Background 🖼️
The background is one of the last parts of a realistic drawing.
It helps highlight the subject or the face while also adding more depth to the artwork.
In many cases, a simple background works very well, especially when using graphite gradients or soft shadows.
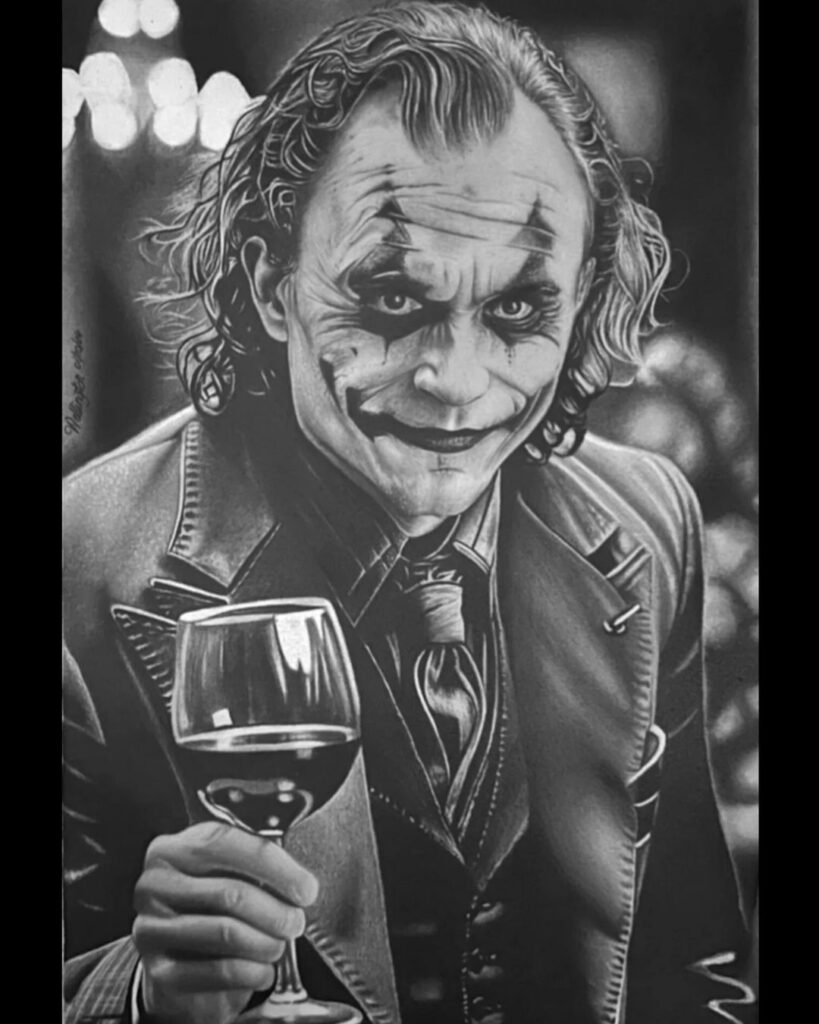
Follow @wellington_carlos7l
Notice how the background enhances the drawing and adds depth to the scene.
The important thing is that it shouldn’t draw attention away from the main subject, but instead help it stand out.
👉 Check out the full post about how to create a black background here!
The Secret Behind Realistic Drawing
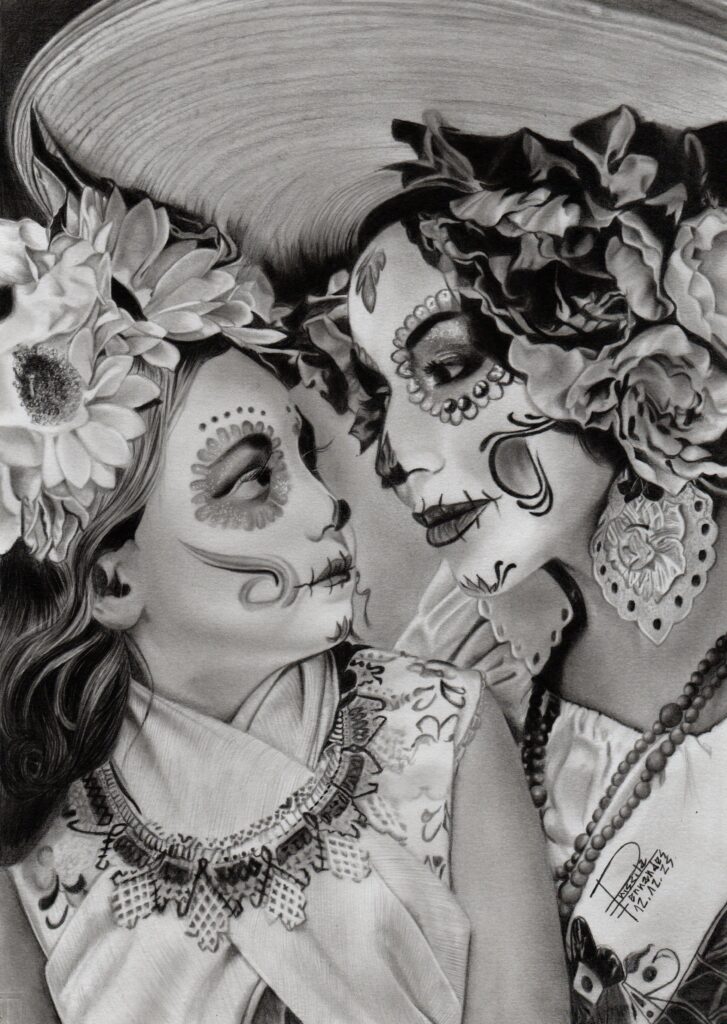
Follow @prifernandes_art_realista
Even after everything we’ve covered, there’s still one secret behind achieving results like these.
Even with plenty of practice, many people still struggle with realistic drawing.
That’s because they’re missing a skill that isn’t talked about very often: drawing perception.
It helps you notice shapes, proportions, and shadows more accurately before you even start drawing.
Without it, you can still copy a reference, but small distortions almost always appear.
If you want to improve faster, this is something you should pay close attention to.
👉 Check out the full post about drawing perception here!
Types of Realistic Drawings
Realistic drawings can be created in many different ways.
Here are a few examples:
- People: Faces, eyes, hair, skin, and facial expressions;
- Animals: Fur, bright eyes, snouts, and different textures;
- Objects: Glasses, cars, fabrics, fruit, and everyday objects;
- Landscapes: Trees, mountains, skies, streets, and natural or urban scenery.
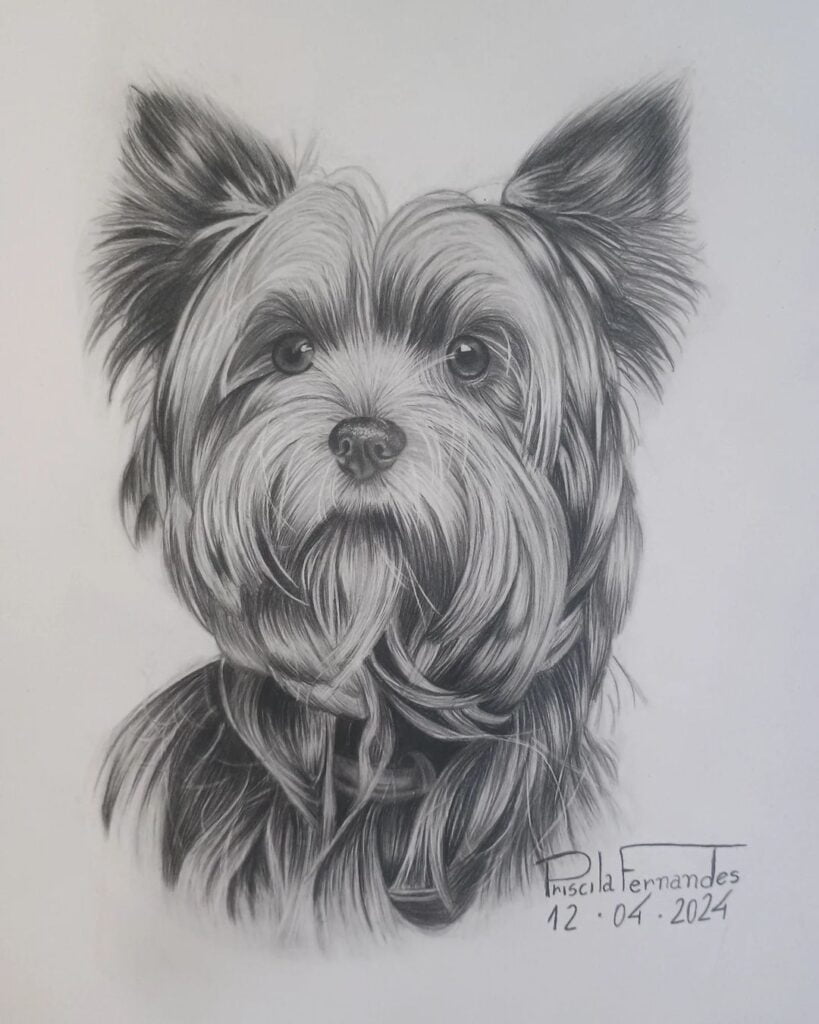
Follow @prifernandes_art_realista
Each type comes with its own challenges when it comes to shading, textures, and fine details.
Which of these types of realistic drawing do you find the most interesting?
Bonus Tip
Learn the step-by-step method to create realistic drawings once and for all, allowing you to possibly make a living from your art!
Keep in mind that if you want to work with realism, you need to be prepared because every commission can bring a new challenge…
👉 With that in mind, if you want to learn the right techniques and improve your skills faster, check out The Complete Guide to Realistic Drawing to achieve great results in a short time!
🎯 Conclusion
Everything feels more difficult at the beginning, but don’t give up. You’ll soon realize that realistic drawing isn’t as difficult as it seems.
We’ll keep updating and improving this guide to help you as much as possible as you begin your journey into realistic drawing!
And if you want to see more content like this, visit the topic or click on Articles to pick what you want to learn next!
💬 So, everyone, let us know in the comments: do you still have any questions about realistic drawing? 👊